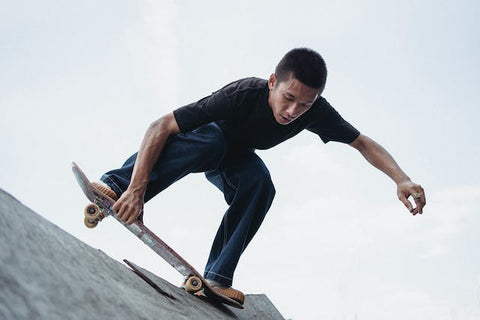
Ever heard the saying, 'Rome wasn't built in a day'? Well, the same goes for designing a branded skateboard.
In this article, you will dive into the process of transforming an idea into a tangible skateboard that represents a brand. From start to finish, you will discover the steps involved in bringing a concept to life.
First, you will explore the importance of research and finding inspiration.
Then, you will delve into the exciting world of concept development, where ideas start to take shape.
Next, you will learn about the art of sketching and digital design, bringing your vision to the virtual realm.
After that, you will explore the crucial stages of prototyping and testing, ensuring your skateboard performs as good as it looks.
Lastly, you will uncover the finalization and production process, where your branded skateboard becomes a reality.
So, grab your helmet and let's get rolling on this exhilarating journey of design and creation.
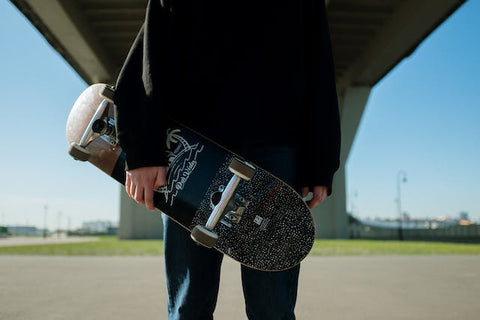
Research and Inspiration
To begin the process of designing a branded skateboard, you need to start with thorough research and draw inspiration from various sources.
Research is essential in understanding the market, target audience, and current trends in skateboarding. Look into different skateboard brands, their designs, and the materials they use. Study the preferences of skateboarders and identify any gaps or opportunities in the market that your brand can fill.
Additionally, immerse yourself in the skateboarding culture by attending events, watching videos, and engaging with the community. This will help you gain a deeper understanding of the sport and its aesthetic.
Drawing inspiration from art, fashion, and other industries can also spark creative ideas for your skateboard designs.
Concept Development
Continuing the exploration of the design process, delve into the realm of concept development to transform your research and inspiration into tangible ideas for your branded skateboard.
This is where you take all the information you've gathered and start to shape it into a cohesive and unique concept. Begin by brainstorming different themes, visuals, and styles that align with your brand and target audience.
Consider the elements that make your skateboard stand out – the shape, graphics, colors, and materials. Experiment with different combinations and explore various design directions.
Use sketches, mood boards, and digital tools to visualize your ideas. Refine and iterate on your concepts until you find the one that captures the essence of your brand and resonates with your audience.
Sketching and Digital Design
Begin sketching and designing digitally to bring your branded skateboard concept to life. This is an essential step in the design process as it allows you to visualize your ideas and make necessary adjustments before moving forward.
Start by sketching your ideas on paper, exploring various shapes, patterns, and graphics that align with your brand image. Once you have a solid foundation, transfer your sketches to digital software like Adobe Illustrator or Sketch to refine and fine-tune your designs.
Utilize the software's tools and features to experiment with different color schemes, textures, and finishes. Take advantage of the digital medium by easily duplicating and rearranging elements, allowing you to explore different compositions and layouts.ee
This stage is crucial in ensuring that your final design accurately represents your brand and captures the attention of your target audience.
Prototyping and Testing
Once you have finalized your digital designs, it's time to create a physical prototype of your branded skateboard for testing and refinement. This is a crucial step in the design process as it allows you to evaluate the functionality and performance of your skateboard.
Building a prototype gives you the opportunity to physically interact with the design, test its durability, and assess its overall quality. Through testing, you can identify any flaws or areas for improvement and make necessary adjustments before moving forward with production.
It's important to conduct rigorous testing to ensure that your skateboard meets the desired standards and provides an optimal riding experience. By iterating and refining your design based on the feedback from testing, you can create a final product that meets the needs and expectations of your target audience.
Production and Finalization
Moving forward in the design process, how do you bring your prototype to life and finalize the production of your branded skateboard?
Once you have a functional prototype, it's time to move on to production. Start by sourcing the necessary materials and components required for your skateboard. Work closely with manufacturers to ensure that your design specifications are met.
This includes selecting the right type of wood for the deck, the appropriate trucks and wheels, and any additional features you may have included in your design. Once all the components are ready, they can be assembled and the skateboard can be painted or printed with your branding.
Don't forget to conduct a final quality check to ensure that everything is in order before packaging and shipping the finished product to your customers.
Conclusion
You've successfully taken a journey through the process of designing a branded skateboard.
From conducting research and finding inspiration, to developing concepts and creating sketches, you've navigated the world of digital design and brought your ideas to life.
Through prototyping and testing, you've ensured the functionality and quality of your design.
Finally, you've reached the production and finalization stage, where your skateboard is ready to be enjoyed by riders everywhere.
Congratulations on a job well done!
Craft your brand story with precision – visit our website and explore how custom print-on-demand products can elevate your identity.