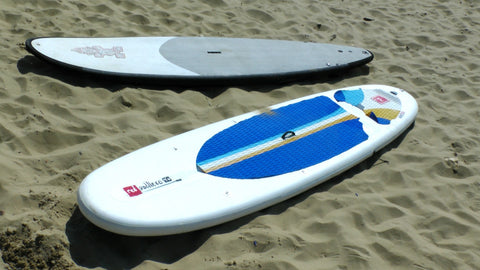
Whether your motivation is, decals are an awesome way to style your surfboard. Almost any surfboard you may run into has some kind of decal on its surface. Have you wondered how to put decals on a surfboard? Well, it isn’t a complex process, if you already have a surfboard sticker printed out for you.
Well, without further ado, let’s check out how you can do this on your own!
The Prerequisites

Before we begin, we would just advise you to always use vinyl decals for your surfboards. Vinyl is the best quality material for surfboard decals, and it won’t mess up the color of your surfboard.
Also, make sure that you are putting decals on your surfboard at the appropriate weather conditions. Never put decals when it is too hot or too cold, as these conditions will certainly mess up the quality of the decal.
With these two prerequisites in place, let’s find out how to put decals on a surfboard, in an easy to follow, step-by-step guide!
How to Put Decals on a Surfboard - A Step-By-Step Guide

Step 1: You need to decide on the spot where you want the decal to be. Why is that important? Well, once you put the sticker on the specified spot, it stays there permanently. We advise you to have any card similar to a credit card with you here. You will need to use them to pop air bubbles that may manifest between the surfboard and the sticker.
Step 2: Now, clean up the spot that you have chosen to put the decal on. It is of utmost importance that there is no wax, water, or sand grains on the chosen spot. To clean the spot, you can use the classic method - soap and water. You can also use hot water to clean the surfboard in a matter of minutes. Once you clean the spot, make sure to dry it up until the spot is shining! Also, before the next step, make sure that your surfboard is completely clean!
Step 3: Now, the fun part begins! Take off the back part of the decal. Beware, be extra careful so that the sticky part doesn’t end up at the wrong spot! Just to keep that in mind, as you already buzzed through the first two steps of the process.
Step 4: First, place one end (doesn’t matter which) of the decal down, very gently. Don’t put the entire decal down, and use any card you chose in step 1 as a guide. The card will help you smooth out the rest of the decal.
Step 5: Now that the decal is on the board, completely glued, you can glide the card over it to smooth over the rough edges and pop the unwanted bubbles.
Step 6: Congratulations! You have successfully put decals on your surfboard! Now, you’re probably very excited to show it off to your friends, but don’t do that. Let the decals dry off for a few hours. We’re sure you can find some fun pastime during that process.
Now, it’s time to hit the waves with your stylish surfboard! We hope that this guide will be as simple as possible for you!
__________
Now that you know how to put decals on a surfboard, we want to tell you that we can design a custom surfboard for you, free of charge! Just contact us, and we will agree on something!
Interested in finding more information about surfboards? Hit us up with a message, or simply contact us via live chat!

