American football is the most popular sport in the USA right now. This sport evolved from a popular game that was introduced in England - rugby. The balls used for these sports use similar traits too! So, how are mini footballs stitched and printed?
Before we move on to the actual explanation of this process, let's learn about the essential part of the mini football - the rubber bladder. It was invented by Richard Lindon around the year 1862. This introduced a revolution in the rugby ball creation process back then. That was so because the rubber bladder allows for more conformity to the shape of the mini football. At that time, the shape of the ball also began to change into the 'torpedo' shape, which is the main design trait of an American football ball.
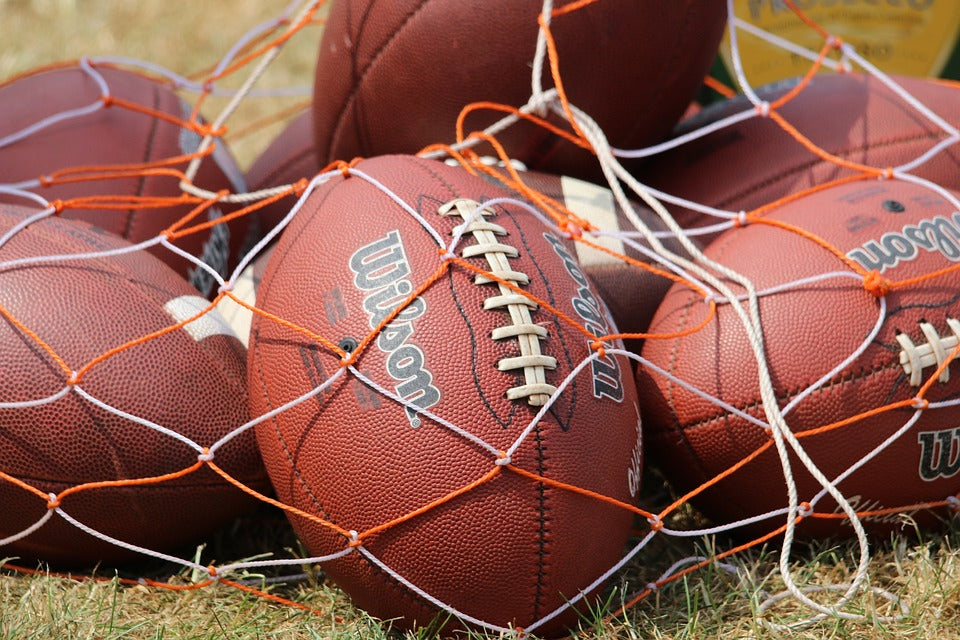
Despite developments in the mini football creation process, there are still some traditional methods in use for this process, such as hand stitching the mini football. Numerous shops use machines to automate and quicken the stitching process. But, the hand stitching art still lives on, as people invest their passion to create the mini footballs.
Now that you have some background on the mini football creation process, are you ready to learn how are mini footballs stitched and printed?
The Printing Process

So, to learn how are mini footballs stitched and printed, we need to detail the first pillar - the printing process. We use screen printing or digital printing techniques to print the graphic design on a thin surface. Then, we transfer the graphics to the rubber sheet of the ball from this surface (we can name it as a 'sticker'). There should be four rubber sheets for the mini football. We recommend that you make the graphics in the shape of a mini American football to make the printing process much easier.
So, you have two options when creating a sticker. You can either screen print on it, or digitally print on it.
Screen printing is a much cheaper method when it comes to transferring graphics than the digital print. It is simple, and doesn't feature complex technologies that are usually expensive to use and maintain. All we need is a frame, a mesh that you will put over the frame, forming holes in a shape of your graphics. These two form a screen. Then, we make a stencil that is essentially a negative image over the area where the graphics will be located. After this initial preparation, we will need ink and a squeegee. We put the ink on the screen, and use the squeegee to transfer the graphics to the mesh holes. The screen print method is best for graphics featuring one or two colors.
People usually utilize the digital printing method because of the automation of the process. But, it costs more, and isn't cost-effective, especially if you are creating a mini football graphic that usually isn't full of detail. There are two ways to digitally print a graphics to a sticker: heat transfer or UV printing.
With the heat transfer technique, we thermally transfer the ink to the sticker using the heat and pressure. UV printing works in a different way. It uses specialized UV ink that we directly print on the sticker surface . Then, the ink is cured by a UV lamp that dries the ink instantly. These two methods are less cost-effective when compared to the screen printing. Whether method you choose, you should have a sticker with your graphics on it!
Then, we use heat transfer technique to transfer the graphics from the sticker on the rubber sheet. The rubber sheet will eventually form the ball. Also, make sure that the rubber sheet is smooth at this point. Now, the sheet is ready for the next part of the printing process.
After we prepare the rubber sheet, we can make a grip on its surface. For this, the heat transfer technique is applicable. We use mold plates for the transfer. If we want to include the grip with the mini American football graphics, they should already have the grip design engraved onto each mold sheet.
When everything is ready for the heat transfer procedure, the heat press machine can do its job. Seven minutes of baking time is ideal for a mini American football. After this procedure, we can complete the printing process. The graphics and the grip are transferred on the rubber sheet, which is an essential part of the mini American football.
The Stitching Process

After the printing process, to create the mini American football, the stitching process has to take place.
Before the actual stitching kicks into motion, we need to attach the rubber bladder. We use a nail punch to create a hole in the center of the rubber panel so that we can insert the needle.
After that, we insert a needle in the rubber bladder. We apply some glue to the bladder. The glue we use in this process is PVA glue.
Now, we can insert the needle in the bladder and apply the same glue on the bladder again. The needle will stop the glue from getting inside the rubber bladder. We wait for a few moments and remove the needle. Now, we stick the rubber panel and the bladder together. Afterward, we can insert a new needle through the panel and find a hole in the bladder. The needle will help with the alignment of the bladder.
Afterward, we should secure the four rubber panels and the bladder with a rubber band. The band will allow time for the glue to dry before we start with stitching the ball.
Once we attach the rubber bladder, we turn the ball inside out. Then, it is ready for the actual stitching process. There should be a gap in which we will put a needle and a small rope. We make crosspieces in the gap to finalize the process of hand-stitching the mini football.
If you want to design a mini football, we can design it for you with no charge! Just contact us and we will think of something! We recommend the screen print method as it is the most cost-effective printing option for mini footballs. Also, we make our basils from scratch so we can translate the exact colors that your graphic features!
If you’re interested to find out more information about mini footballs, drop us a message with your questions or simply talk with one of us via live chat.
Looking for more interesting content?